Once an asset has been deactivated, you can no longer post to the asset (with one exception: posting a reversal of the last retirement). you can also manually change the deactivation date in the asset master record.
Step-1) Use Tcode : AS02, Enter Asset code press Enter Key, then put manually deactivation date
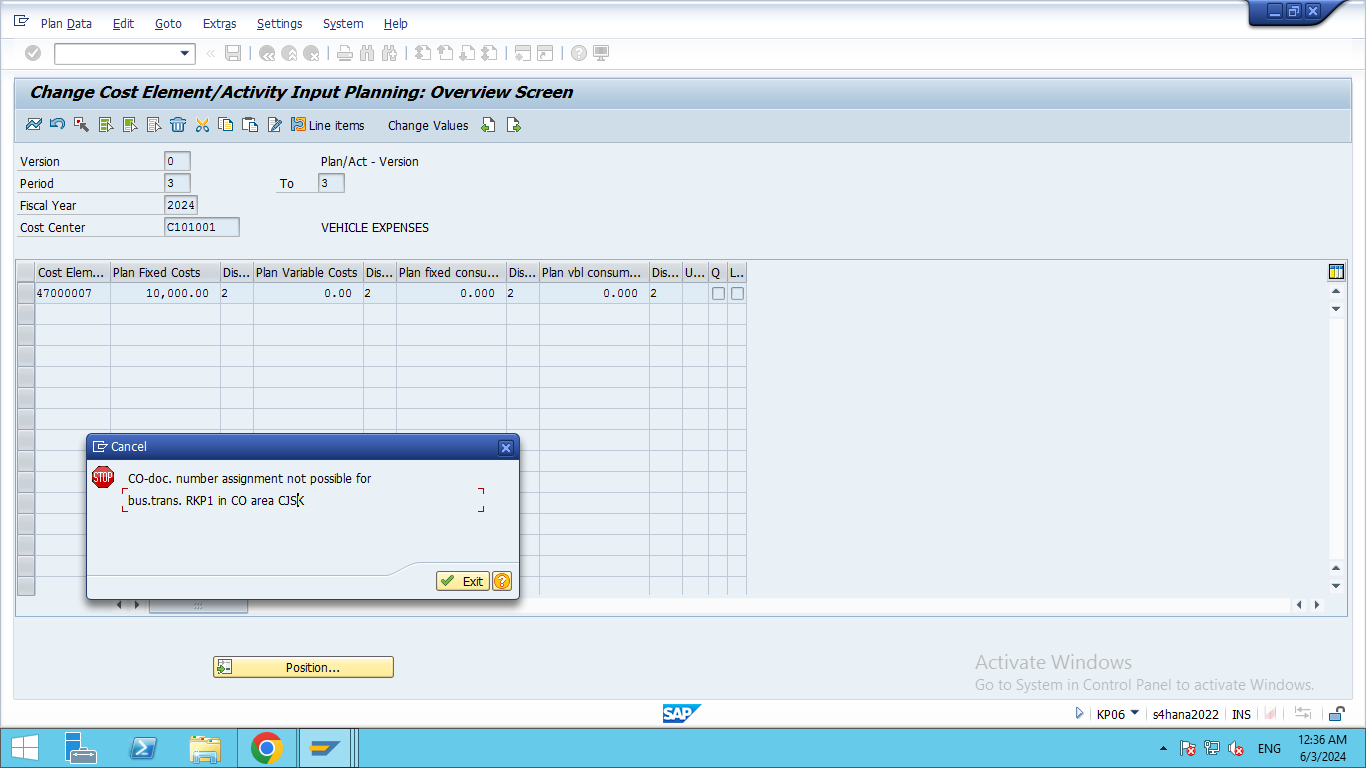
Step 2) If show error like below
Deactivation date earlier than last closed year 2022 (Correct)
Message no. AA295
Diagnosis
The deactivation date is in a closed fiscal year. Deactivation is only possible in a fiscal year after 2022.
e.i. : If Current FY: 2024-25 and deactivation date is 03-Mar-2020 then this error appears.
Step 3) Use Tcode SE16N for asset code deactivation with debugging process.